

There’s something so comforting about warm, buttery breadsticks fresh from the oven. Every time I make these Olive Garden Garlic Breadsticks at home, the entire kitchen smells like a cozy Italian restaurant. I first started making this recipe during a rainy weekend when I was craving the soft, fluffy breadsticks from Olive Garden but didn’t want to leave the house. One bite later, this homemade version instantly became a family favorite.
These Olive Garden Garlic Breadsticks are soft on the inside, golden on the outside, brushed with melted garlic butter, and sprinkled with just the right amount of seasoning. They pair perfectly with pasta, soup, salad, or even as a snack on their own. The best part is that homemade breadsticks are much easier to make than most people think.
If you love restaurant-style bread recipes, these Olive Garden Garlic Breadsticks are about to become one of your most requested homemade recipes.
These Olive Garden Garlic Breadsticks are perfect for cozy dinners, especially when served alongside sweet breakfast treats like Cinnamon Roll French Toast Bites for a full comfort-food experience at any time of day.
Why You’ll Love These Olive Garden Garlic Breadsticks
Soft and Fluffy Texture
These Olive Garden Garlic Breadsticks bake up perfectly soft and pillowy every single time. The dough creates a bakery-style texture that tastes just like the restaurant version.
Easy Homemade Bread Recipe
Even if you’re new to baking with yeast, this Olive Garden Garlic Breadsticks recipe is beginner-friendly and easy to follow.
Perfect for Family Dinners
These breadsticks pair beautifully with pasta dishes, soups, salads, and casseroles. They’re always a crowd favorite at dinner parties and holiday meals.
Better Than Restaurant Breadsticks
Homemade Olive Garden Garlic Breadsticks taste fresher, softer, and more flavorful than takeout versions.
Budget-Friendly Recipe
Making Olive Garden Garlic Breadsticks at home costs far less than dining out, and you can make a large batch for the whole family.
Olive Garden Garlic Breadsticks Ingredients & Substitutions
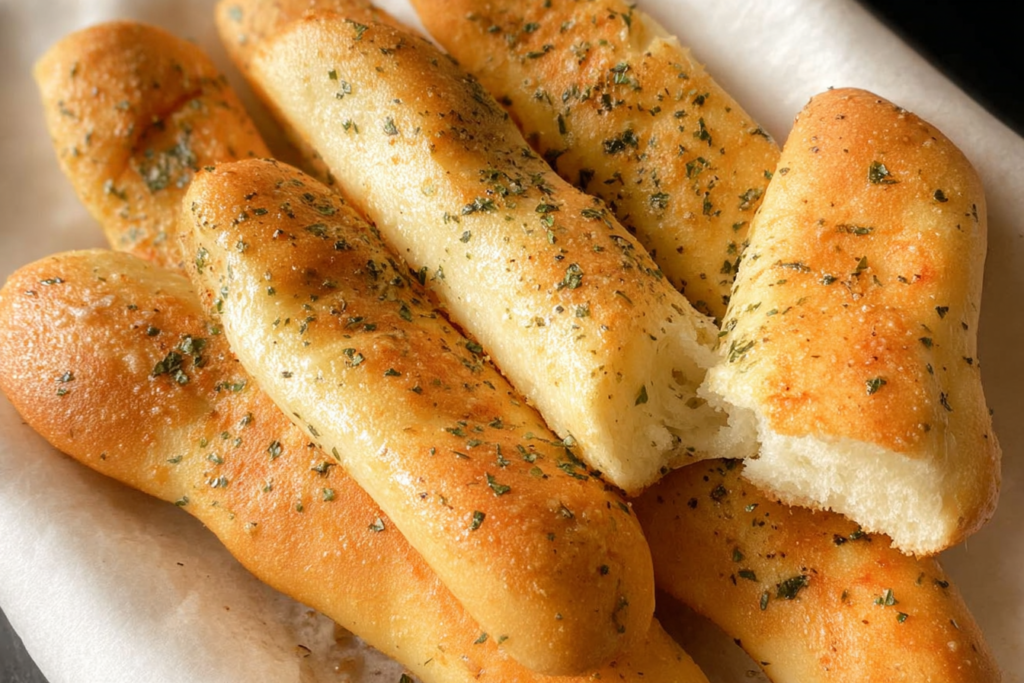
The ingredients for Olive Garden Garlic Breadsticks are simple pantry staples that come together beautifully.
Flour
All-purpose flour creates soft and fluffy breadsticks with the perfect chewy texture.
Substitutions:
- Bread flour for extra chewiness
- Half whole wheat flour for added flavor
- Gluten-free flour blend if needed
Yeast
Active dry yeast helps the dough rise and creates the classic fluffy texture.
Instant yeast also works well and can save time.
Warm Water
Warm water activates the yeast and helps the dough come together smoothly.
Make sure the water is warm but not too hot, or it may kill the yeast.
Sugar
A little sugar feeds the yeast and helps the breadsticks develop a beautiful golden color.
Salt
Salt enhances flavor and balances the richness of the garlic butter topping.
Butter
Butter gives Olive Garden Garlic Breadsticks their signature rich flavor.
You’ll use butter both inside the dough and brushed on top after baking.
Substitutions:
- Margarine
- Plant-based butter
Garlic Powder
Garlic powder creates the classic restaurant-style garlic flavor without overpowering the bread.
Fresh garlic can also be used for a stronger garlic taste.
Italian Seasoning
Italian seasoning adds extra savory flavor and makes the breadsticks taste even more like restaurant bread.
Optional additions:
- Parmesan cheese
- Dried parsley
- Oregano
How to Make Olive Garden Garlic Breadsticks
Making homemade Olive Garden Garlic Breadsticks is easier than you might think. Follow these simple steps for soft and fluffy breadsticks every time.
Step 1: Activate the Yeast
In a large mixing bowl, combine warm water, sugar, and yeast.
Let the mixture sit for several minutes until it becomes foamy.
This step ensures the yeast is active and ready to help the dough rise properly.
Step 2: Mix the Dough
Add flour, salt, and melted butter to the yeast mixture.
Mix until a soft dough forms.
If the dough feels too sticky, add a little more flour one tablespoon at a time.
The dough should feel soft and slightly tacky but manageable.
Step 3: Knead the Dough
Transfer the dough onto a lightly floured surface.
Knead for several minutes until smooth and elastic.
Proper kneading helps develop the bread’s texture and creates fluffy Olive Garden Garlic Breadsticks.
Step 4: Let the Dough Rise
Place the dough into a greased bowl and cover it with a clean towel.
Allow it to rise in a warm place until doubled in size.
This usually takes about 1 hour depending on room temperature.
Step 5: Shape the Olive Garden Garlic Breadsticks
Punch down the dough and divide it into equal portions.
Roll each piece into breadstick shapes about the length of your baking sheet.
Place the breadsticks on a parchment-lined baking sheet with space between them.
Step 6: Second Rise
Cover the shaped breadsticks and let them rise again for about 20-30 minutes.
This second rise gives Olive Garden Garlic Breadsticks their signature soft texture.
Step 7: Bake the Breadsticks
Bake the breadsticks in a preheated oven until lightly golden brown.
Avoid overbaking because you want the inside to stay soft and fluffy.
Step 8: Prepare the Garlic Butter Topping
While the breadsticks bake, combine melted butter, garlic powder, salt, and Italian seasoning.
As soon as the breadsticks come out of the oven, brush them generously with the garlic butter mixture.
This step gives Olive Garden Garlic Breadsticks their iconic flavor.
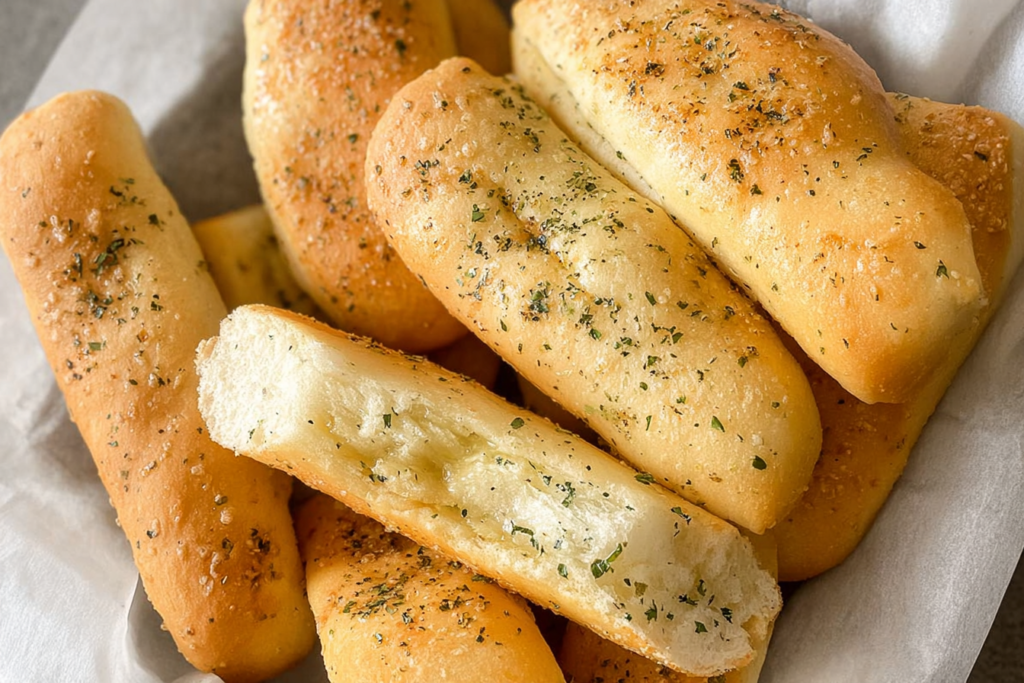
Tips for Perfect Olive Garden Garlic Breadsticks
Don’t Use Hot Water
Water that’s too hot can kill the yeast.
Warm water works best for proper dough rising.
Measure Flour Correctly
Too much flour can make breadsticks dense instead of soft.
Spoon flour into measuring cups instead of scooping directly.
Allow Enough Rise Time
The dough needs time to rise fully for fluffy breadsticks.
Rushing this step can affect texture.
Brush with Garlic Butter Immediately
Brushing the breadsticks while warm helps the buttery topping soak into the bread perfectly.
Olive Garden Garlic Breadsticks Variations
One of the best things about Olive Garden Garlic Breadsticks is how customizable they are.
Parmesan Garlic Breadsticks
Sprinkle grated Parmesan cheese over the breadsticks after brushing with butter.
Cheesy Breadsticks
Add shredded mozzarella cheese before baking for cheesy breadsticks.
Herb Breadsticks
Add rosemary, oregano, basil, or parsley to the dough for extra flavor.
Spicy Garlic Breadsticks
Mix red pepper flakes into the garlic butter topping for a spicy kick.
Whole Wheat Breadsticks
Replace part of the flour with whole wheat flour for a heartier texture.
What to Serve with Olive Garden Garlic Breadsticks
These Olive Garden Garlic Breadsticks pair perfectly with so many meals.
Popular serving ideas include:
- Spaghetti
- Alfredo pasta
- Lasagna
- Tomato soup
- Chicken noodle soup
- Caesar salad
- Beef stew
They’re also delicious served with dipping sauces like:
- Marinara sauce
- Alfredo sauce
- Garlic butter
- Cheese sauce
For a complete comfort-food dinner, pair these breadsticks with hearty soups and pasta dishes.
How to Store Olive Garden Garlic Breadsticks
Room Temperature Storage
Store Olive Garden Garlic Breadsticks in an airtight container for up to 2 days.
Refrigerator Storage
Refrigerate breadsticks for up to 5 days.
Warm them before serving for the best texture.
Freezer Storage
Freeze baked breadsticks in a freezer-safe bag for up to 2 months.
How to Reheat Olive Garden Garlic Breadsticks
Oven Method
Wrap the breadsticks in foil and warm in the oven until heated through.
This keeps them soft and prevents drying out.
Microwave Method
Microwave for a few seconds for quick reheating.
Cover with a damp paper towel to help keep them soft.
Air Fryer Method
The air fryer reheats breadsticks beautifully while slightly crisping the outside.
Olive Garden Garlic Breadsticks for Holidays and Gatherings
Olive Garden Garlic Breadsticks are perfect for:
- Holiday dinners
- Pasta nights
- Potlucks
- Family gatherings
- Game day spreads
- Weekend comfort meals
Because they’re easy to make in large batches, they’re ideal for feeding a crowd.
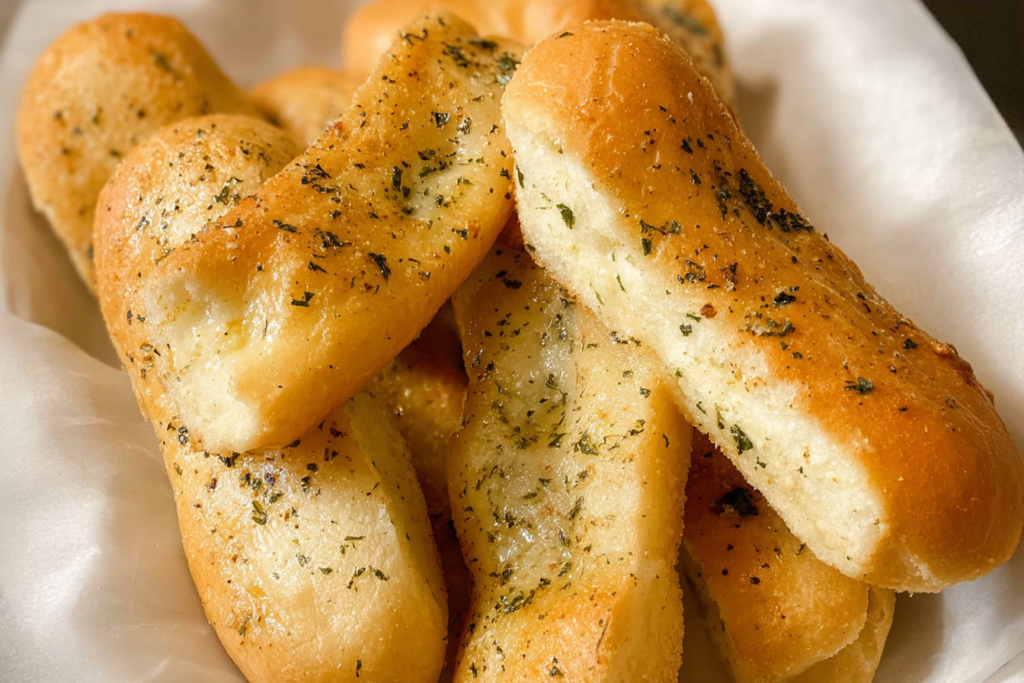
Frequently Asked Questions About Olive Garden Garlic Breadsticks
Can I Make Olive Garden Garlic Breadsticks Ahead of Time?
Yes. You can prepare the dough ahead of time and refrigerate overnight before shaping and baking.
Can I Freeze Olive Garden Garlic Breadsticks Dough?
Absolutely. Freeze the dough after the first rise, then thaw and shape before baking.
Why Are My Breadsticks Dense?
Dense breadsticks are usually caused by too much flour or not allowing enough rise time.
Can I Use Instant Yeast?
Yes. Instant yeast works very well in this recipe and can shorten the rise time slightly.
Can I Make Olive Garden Garlic Breadsticks Dairy-Free?
Yes. Use plant-based butter alternatives.
Can I Add Cheese to Olive Garden Garlic Breadsticks?
Definitely. Parmesan and mozzarella both work wonderfully.
How Do I Keep Breadsticks Soft?
Store them in an airtight container and avoid overbaking.
The Secret to Soft Olive Garden Garlic Breadsticks
The secret to perfect Olive Garden Garlic Breadsticks is balancing moisture and rise time.
Soft dough, proper kneading, and enough rising time create fluffy breadsticks with the ideal texture.
The buttery garlic topping adds the finishing touch that makes these breadsticks taste just like the restaurant version.
Why Homemade Olive Garden Garlic Breadsticks Are So Popular
People love homemade Olive Garden Garlic Breadsticks because they combine:
- Soft bakery-style texture
- Rich buttery flavor
- Garlic seasoning
- Comfort-food appeal
- Easy preparation
Homemade bread recipes also create a warm and cozy kitchen atmosphere that makes meals feel extra special.
Final Thoughts on Olive Garden Garlic Breadsticks
If you love soft, buttery restaurant-style bread, these Olive Garden Garlic Breadsticks are a must-try recipe. They’re fluffy, flavorful, easy to make, and perfect for everything from weeknight dinners to holiday meals.
Once you taste these warm homemade breadsticks brushed with garlic butter, you may never want store-bought breadsticks again. They’re comforting, satisfying, and guaranteed to become a family favorite.
Whether you serve them with pasta, soup, salad, or simply enjoy them fresh from the oven, these Olive Garden Garlic Breadsticks deliver bakery-quality flavor right at home.
Print
Olive Garden Garlic Breadsticks
Ingredients
1 cup warm water
2 1/4 teaspoons active dry yeast
2 tablespoons granulated sugar
3 cups all-purpose flour
1 teaspoon salt
2 tablespoons unsalted butter, melted (for dough)
Garlic Butter Topping
1/4 cup unsalted butter, melted
1 teaspoon garlic powder
1/2 teaspoon salt
1 teaspoon Italian seasoning
1/2 teaspoon dried parsley (optional)
Instructions
In a large mixing bowl, combine warm water, sugar, and yeast. Let it sit for 5 to 10 minutes until foamy.
Add flour, salt, and melted butter to the yeast mixture. Mix until a soft dough forms.
Transfer the dough to a lightly floured surface and knead for 6 to 8 minutes until smooth and elastic.
Place the dough in a greased bowl, cover it with a clean towel, and let it rise in a warm place for about 1 hour or until doubled in size.
Punch down the dough and divide it into equal portions. Roll each piece into a breadstick shape and place on a parchment-lined baking sheet.
Cover and let the shaped breadsticks rise again for 20 to 30 minutes.
Preheat the oven to 375°F and bake the breadsticks for 12 to 15 minutes or until lightly golden.
While the breadsticks bake, mix melted butter, garlic powder, salt, Italian seasoning, and parsley in a small bowl.
Brush the warm breadsticks generously with the garlic butter mixture immediately after baking.
Serve warm.
Notes
Use bread flour instead of all-purpose flour for a slightly chewier texture.
Make sure the water is warm, not hot, to properly activate the yeast.
Do not skip the second rise, as it helps create soft and fluffy breadsticks.
Brush with garlic butter while the breadsticks are still hot so the flavor absorbs better.
Store leftovers in an airtight container for up to 2 days at room temperature or 5 days in the refrigerator.
Reheat in the oven or air fryer for the best texture.